— home

Get started

From nothing to a dashboard, in about ten minutes

You need one computer at the masjid that stays switched on. You also need one person who can copy a line of text and paste it. That is all.

your server
bash -c "$(curl -fsSL https://raw.githubusercontent.com/OpenMasjid-Solutions/OpenMasjidOS/master/install.sh || wget -qO- https://raw.githubusercontent.com/OpenMasjid-Solutions/OpenMasjidOS/master/install.sh)"

Paste that into your server once. That’s the install.

Works whether your server has curl or wget — you don’t need to install either one first.

Step 1

Check the computer is up to it

The hardware is modest. A second-hand mini-PC is enough. A container on a server the masjid already runs is also enough.

What OpenMasjidOS needs, from the project’s own README
  Minimum Recommended
Processor 4 cores 8 cores
Memory 4 GB 8 GB
Storage 8 GB free 32 GB
  • Runs on Ubuntu 20.04+, Debian 11+, Raspberry Pi OS (64-bit), Fedora, Rocky and Alma. If the machine already has one of those, you are ready.
  • The installer adds Docker if the machine does not have it. You do not need to know what Docker is.
  • All of its files are in one folder, /opt/openmasjid/. It starts again by itself after a power cut.

Step 2

Pick where it’s going to live

There are two ways in, and both finish with the same command. Choose by the machine you already have.

Most masjids start here.

Option A: A computer of its own

A mini-PC running Ubuntu Server 22.04 LTS — a second-hand ex-office one is enough. A spare PC or laptop works too, for trying it out.

  1. Install Ubuntu Server 22.04 LTS on the machine, if it isn’t already running it. During setup, tick “Install OpenSSH server” so you can reach it from your own computer.
  2. Plug it into the network with an ethernet cable and note the address it gets. Add a reservation for it in your router so the address never changes.
  3. Connect to it — ssh yourname@the-address — and bring it up to date.
  4. Then run the installer. It installs everything it needs, including Docker, and asks a couple of plain questions.

First, bring the machine up to date:

sudo apt update && sudo apt upgrade -y

Then run the installer, on that same machine:

bash -c "$(curl -fsSL https://raw.githubusercontent.com/OpenMasjid-Solutions/OpenMasjidOS/master/install.sh || wget -qO- https://raw.githubusercontent.com/OpenMasjid-Solutions/OpenMasjidOS/master/install.sh)"

The installer prints the address to open. To check it later: sudo docker ps should list openmasjid-core with status Up.

Full step-by-step guide

For a masjid that already runs Proxmox.

Option B: A container on Proxmox

If the masjid already has a Proxmox server, give OpenMasjidOS its own Debian 12 container instead of another machine.

  1. Open the Shell on your Proxmox node and run the Community Scripts helper below. It fetches the container templates for you.
  2. From its menu choose debian-12-standard (recommended), and copy the root password it prints at the end — you need it once.
  3. Open the new container’s Console in Proxmox, log in as root with that password, and change it straight away with passwd.
  4. Then run the installer in that container’s shell — the same command as option A.

First, on the Proxmox node’s shell — not in the container:

bash -c "$(curl -fsSL https://raw.githubusercontent.com/community-scripts/ProxmoxVE/main/tools/addon/all-templates.sh)"

Then run the installer inside the container’s shell, as root:

bash -c "$(curl -fsSL https://raw.githubusercontent.com/OpenMasjid-Solutions/OpenMasjidOS/master/install.sh || wget -qO- https://raw.githubusercontent.com/OpenMasjid-Solutions/OpenMasjidOS/master/install.sh)"

The installer prints the address to open — the container’s own address.

Full step-by-step guide
Would rather somebody did all of this? Our partner AsmaTec Inc. will tell you what to buy, ship it set up already, and stay with you to the end. Optional monthly maintenance after that.

Both options above are short summaries. Each links to a guide in our documentation written for somebody who has never opened a terminal. The install guide in the README is the full version, and it shows every prompt. Keep it open in another tab.

The installer running in a terminal. It draws the OpenMasjidOS name, says 'Free, open-source software for your masjid', offers a numbered menu — 1) Install, 2) Exit — then works through numbered steps, ticking off 'Running as root', 'Detecting your system' and 'Detected OS: debian (amd64)'.
What the installer looks like while it works. It asks a couple of plain questions and ticks off each step as it goes.

Later on

Updating

Settings → Advanced → Check for updates, then Update now. Your apps and everything in them are left alone. Running the same install command again gives you the same options from the terminal.

Backups, on and off the box

Go to Settings, then Advanced, then Download a backup. You restore a backup the same way. You can also set a schedule in Settings, then Off-site backups. It then uploads itself to Google Drive, or to a NAS over SMB, SFTP or WebDAV. A failed disk at the masjid then does not destroy your donation records. The backup holds your app data as well as your settings.

If you get stuck

Ask in Discord — a real person will answer. Or open an issue on GitHub if something looks broken.

Step 4

Three things you bring, and everything switches on

This is the difference between running it yourself and paying a monthly fee. There is no plan to select and nothing to unlock. You supply three accounts in the masjid’s own name, one time. Every feature that a hosted platform charges for is then available.

  1. Thing 1: Your Stripe keys

    Paste them once and the donation site, the kiosk and madrasa tuition all take card payments — into the masjid’s own Stripe account, which we never touch. You can add more than one, so Zakat lands separately from the general fund.

  2. Thing 2: A Cloudflare tunnel and your domain

    Paste a tunnel token and your domain and the donation page is live on the internet over HTTPS, with no port forwarding and nothing exposed on your router. Only the app pages go out — the dashboard stays on your own network.

  3. Thing 3: Email, by SMTP or Resend

    Set one of them up in Settings → Email and send yourself a test. Every app sends its receipts and alerts through it afterwards, without ever handling the password itself.

You set each one on the platform, not in each app. An app that you install later can then send email and take a card payment. You do not configure anything again, and the app never sees the credentials.

Installed it? Go and fill it up.

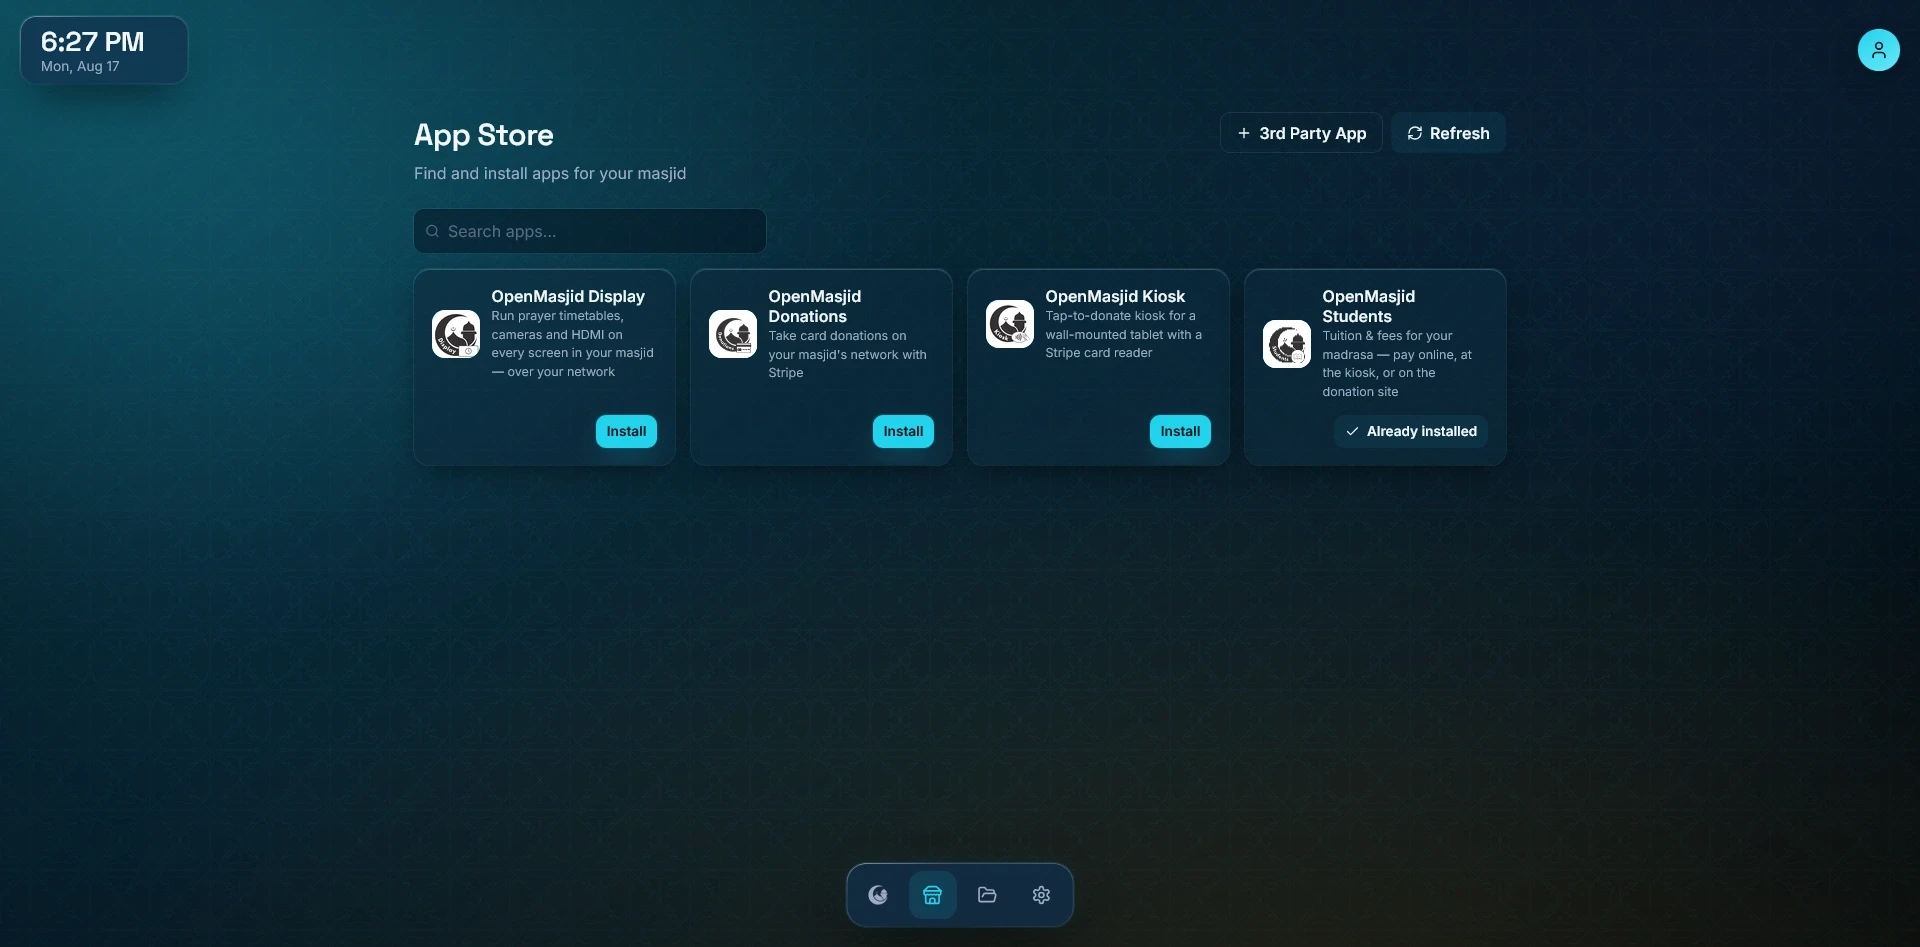
Go to the App Store next. It has prayer displays, a donation page and a giving kiosk.